Small kitchen guide
How to Set Up a Coffee Corner in a Small Kitchen
A coffee corner doesn't need a bar cart or a wall of syrups. In a small kitchen it needs three decisions made in the right order: how much space you really have, which brewer fits it, and how much you can move off the counter and onto the wall.
The 3-step plan
Most coffee corners fail in the same way: the gear gets bought first and the space gets found later. Reverse it.
1. Measure the spot, not the kitchen
Write down three numbers for the exact spot: the width you can give up, the depth of the counter, and the height up to the cabinet or shelf above it. Then check where the nearest outlet is. If there is no outlet within reach of the spot, that single fact decides your brewer for you (see the stovetop option below).
2. Choose a brewer that fits those numbers
Compare brewers by their footprint first and features second. A machine that is two inches too wide will push everything else off the counter, no matter how good its coffee is. Measure height with the lid or water tank open – that is the number that has to fit under a cabinet.
3. Move everything else up
Only the brewer has to sit on the counter. Beans, mugs, sugar and spoons can live on a shelf or on hooks above it. That is how a coffee corner stays small.
7 space-saving ideas for a tiny kitchen
- Pick the brewer by width. The narrowest pod machines are about 3–5 inches wide; a typical drip machine is much wider. Width is the number that matters on a crowded counter.
- Use the dead end of the counter. The last 12 inches next to the wall or the fridge are often unused. That is enough for a slim brewer and a tray.
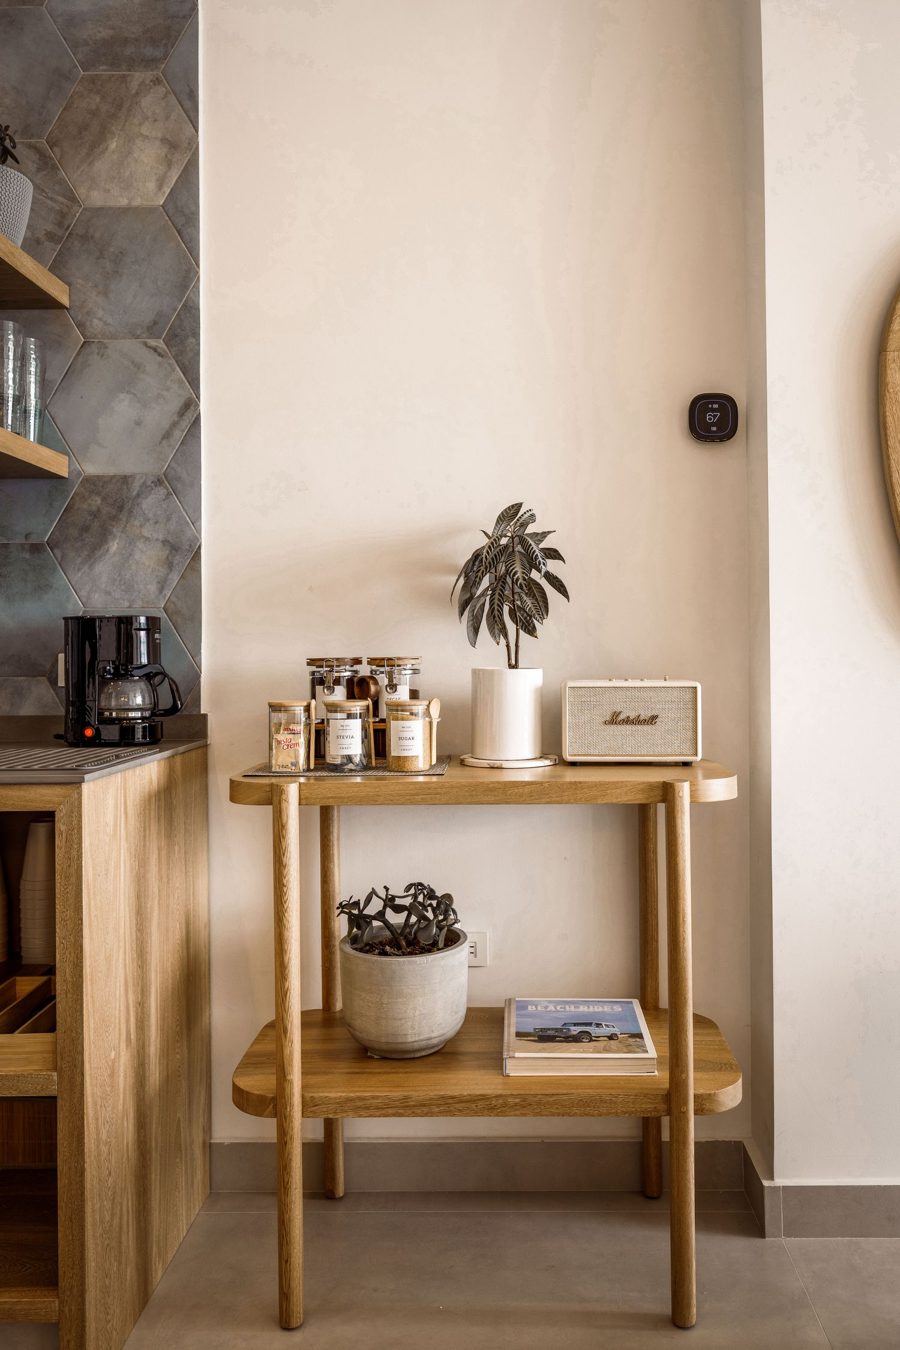
- Or skip the counter. A narrow side table or a small cart in a corner can hold the whole station, as in the photo at the top of this page.
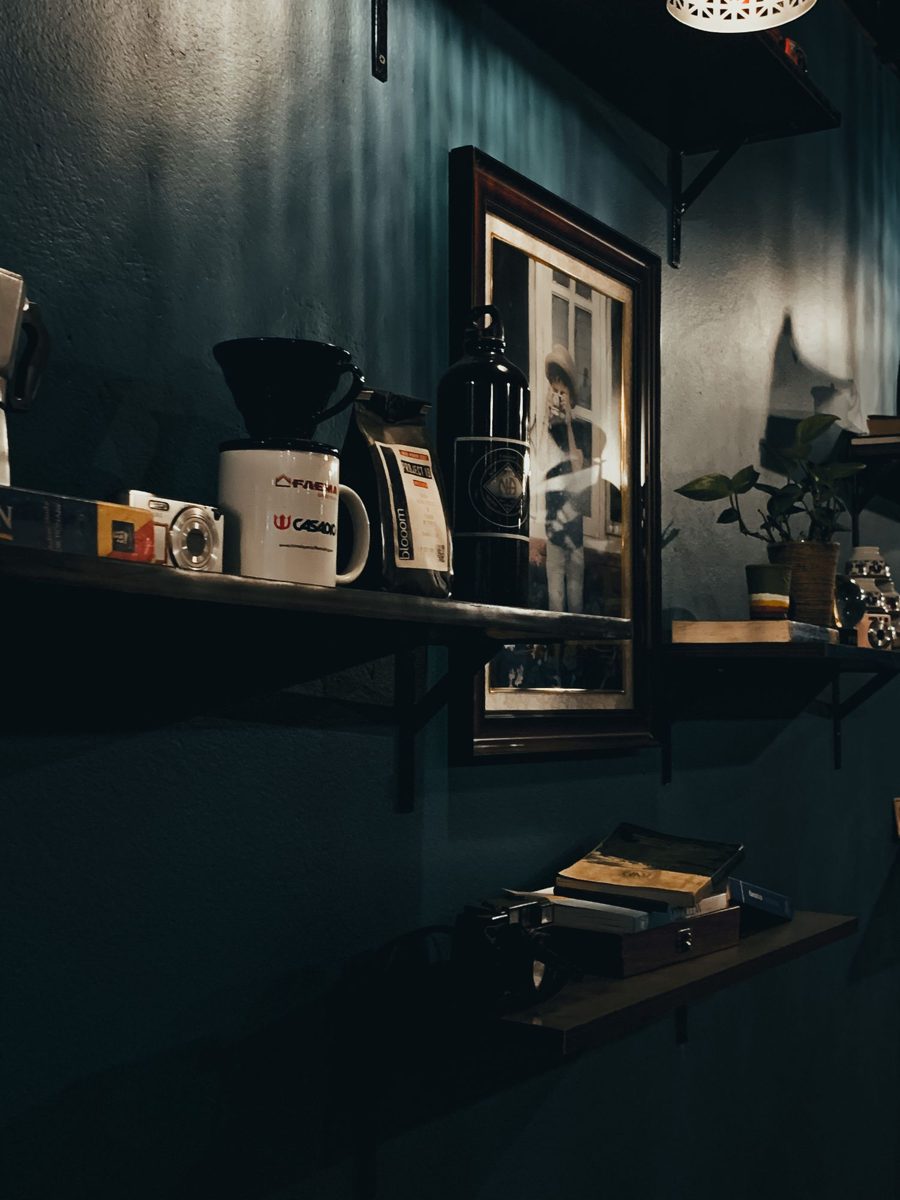
- Add one shelf above the brewer for beans and sugar. One shelf frees more counter than any organizer that sits on the counter.
- Hang the mugs. Hooks under the shelf turn mugs into decoration and empty a cabinet shelf.
- Put everything on one tray. A tray defines the station, catches drips and grounds, and lets you wipe the counter in one move.
- Consider a brewer that lives in a cabinet. A moka pot or a French press needs no counter space at all between uses.
Brewers by footprint
Approximate sizes of well-known compact brewers, so you can compare them with your measurements. Sizes vary by model and by how the seller measures (with or without handle), so check the exact model before buying.
| Type | Example | Approx. size (W × D × H) | Needs | Good fit when |
|---|---|---|---|---|
| Capsule | Nespresso Essenza Mini | 3.3 × 13 × 8 in | Outlet | You want espresso-style coffee in the narrowest space |
| Pod | Keurig K-Mini | 4.5 × 11.3 × 12.1 in | Outlet | One mug at a time, 6–12 oz, no carafe |
| Pour-over | Hario V60 (size 02) + gooseneck kettle | Dripper about 5 in wide; kettle about 11.5 in long incl. spout | Outlet for the kettle | You enjoy the ritual and want a kit that fits on a tray |
| French press | Bodum Chambord 34 oz | About 9–10 in tall | Hot water | You brew for two and store gear in a cabinet |
| Stovetop | Bialetti Moka Express (3-cup) | About 3.5 in base, 6.3 in tall | A stove, no outlet | There is no outlet near the spot, or no counter at all |
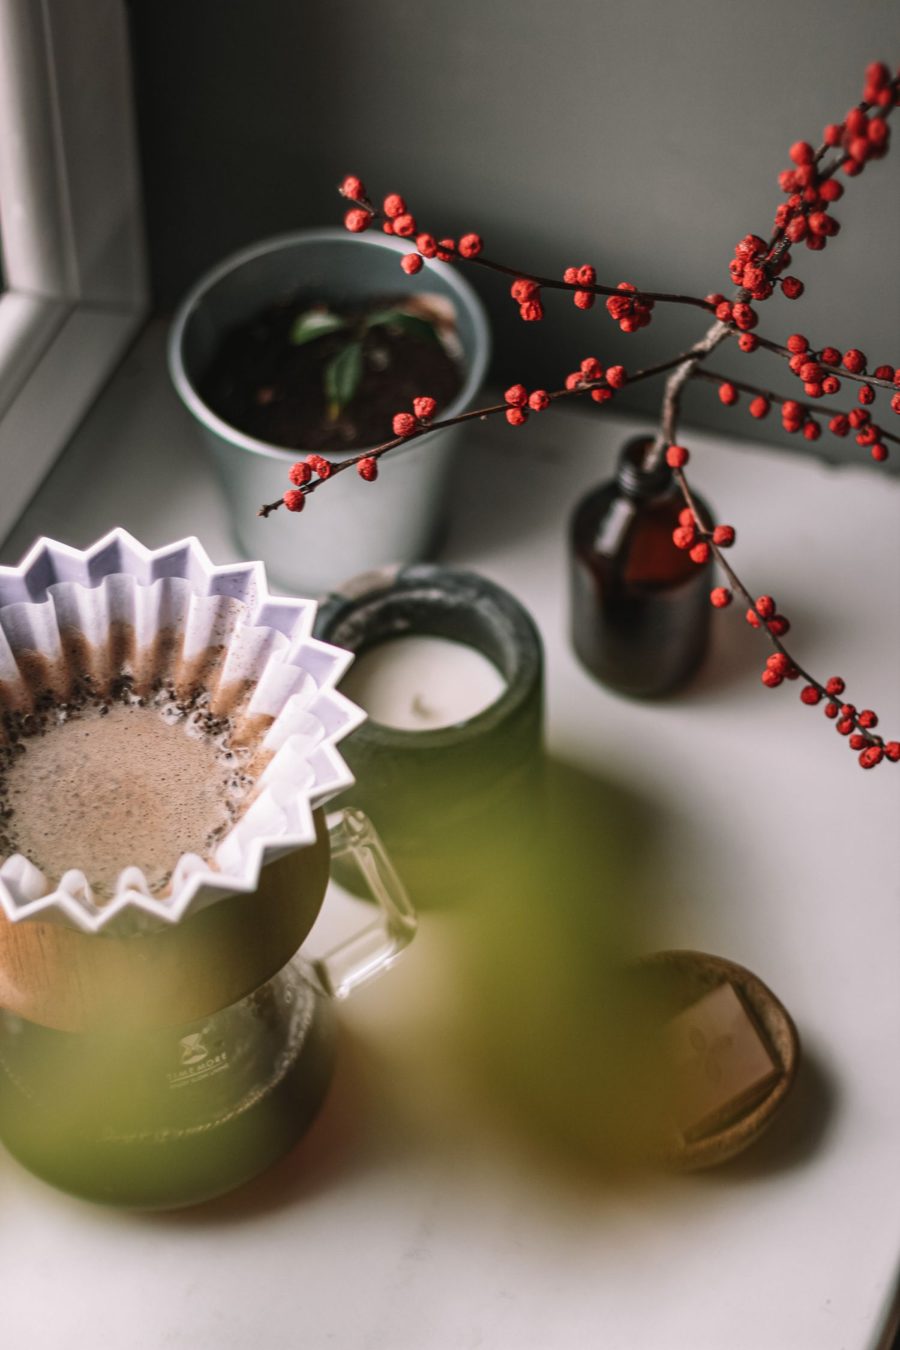
Pour-over on one tray. A dripper, a gooseneck kettle and a canister of beans fit on one medium tray. The kettle is the largest piece; everything else can be stacked or hung.
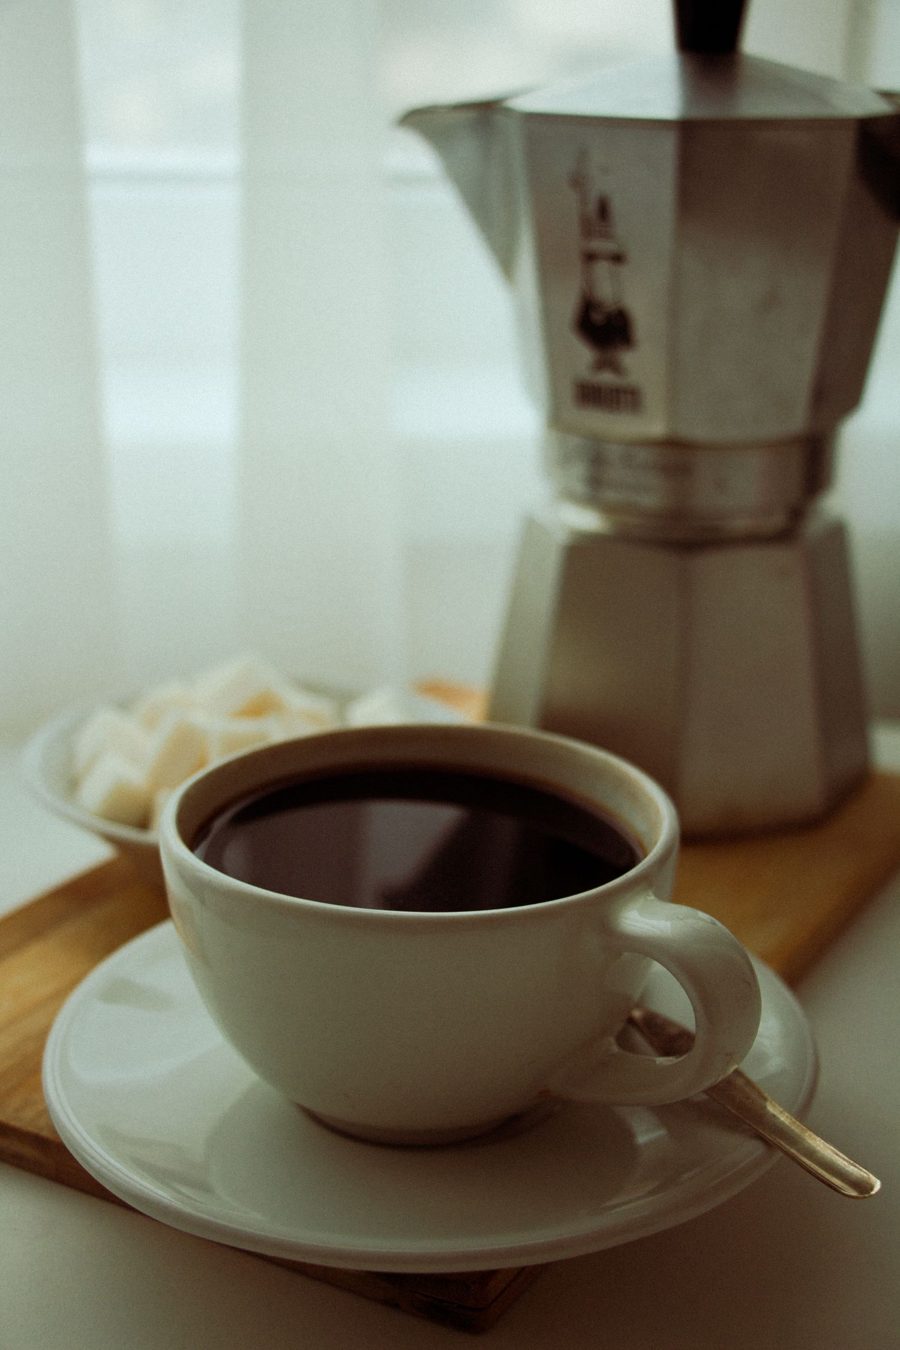
No outlet? Stovetop. A moka pot lives in a cabinet and brews on the stove, so it takes no counter space and no outlet. The trade-off: it makes a small, strong cup rather than a full mug of drip coffee, and it needs to be cleaned after each use.
Use the wall
The fastest way to get your counter back is to stop storing things on it. A single wall shelf with a rail of mug hooks under it can hold almost everything except the brewer.
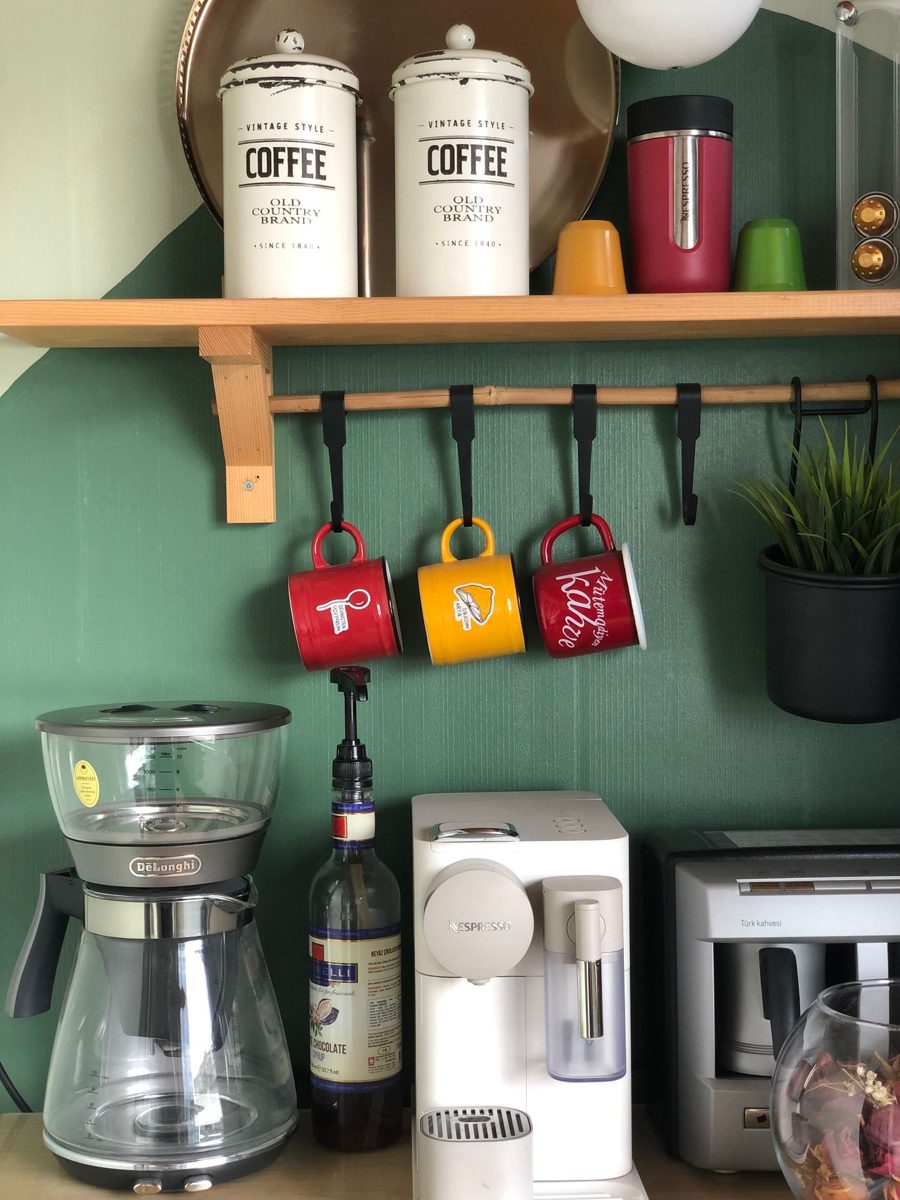
- Shelf depth: a shallow shelf is enough for canisters and mugs; a deep shelf invites clutter and blocks light.
- Mind the steam: don't put a shelf or a cabinet right above the steam vent of a machine – check where the steam comes out.
- Before you drill: rentals often don't allow it. A freestanding rack or a shelf that sits on the counter at the back is the no-drill alternative.
Open shelves without the clutter
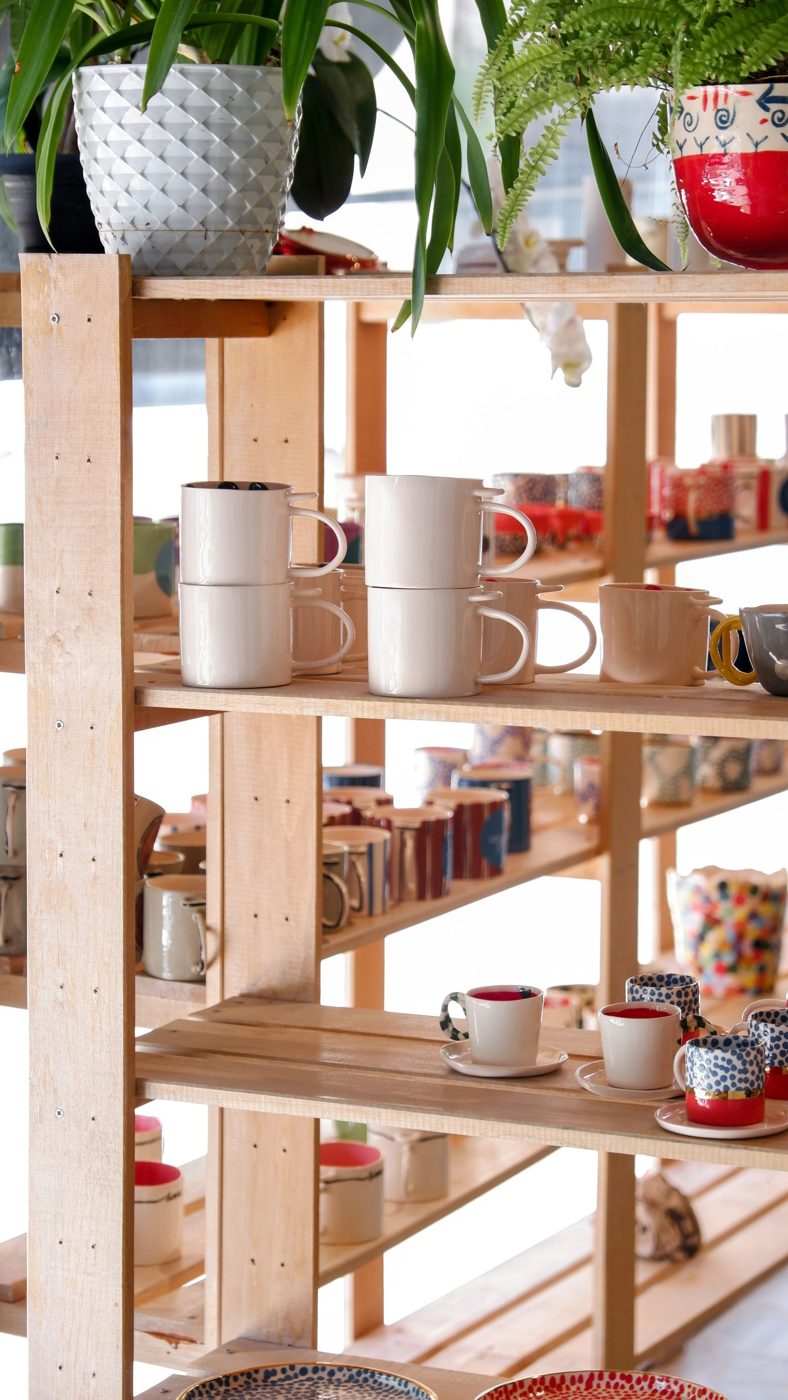
Open shelves look great in photos because they hold very little. A simple rule keeps them that way: only things you use every day go on the shelf – your daily mugs, the bean canister, one jar of sugar. Backup bags, rarely used mugs and gadgets go back in a cabinet. Group items in odd numbers and leave empty space on every shelf; empty space is what makes a shelf look styled rather than stored.
Hang your mugs
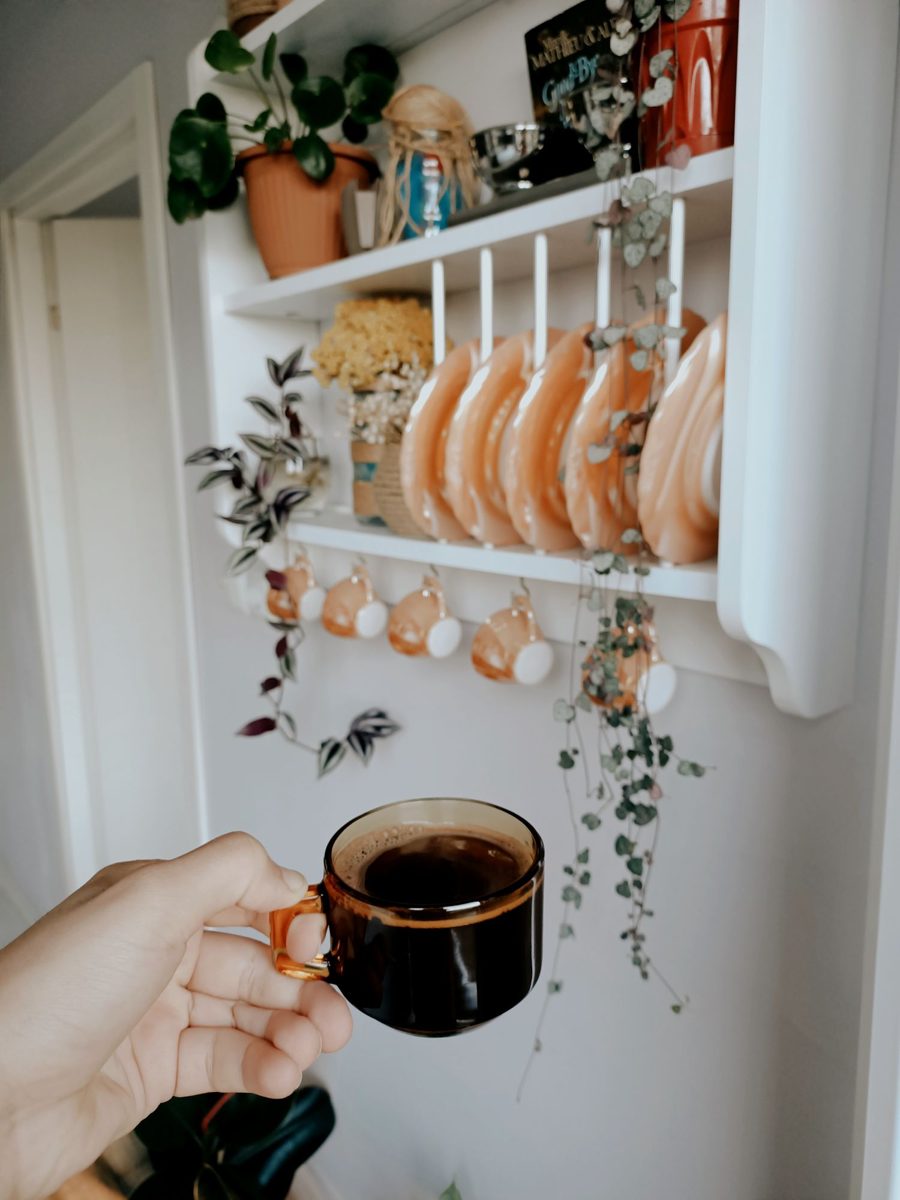
Hooks under a shelf or a wall rail are the quickest small-kitchen fix: the mugs become part of the look and a full cabinet shelf comes free. Hang only the mugs you actually use, leave a little space between them so they don't knock together, and keep heavy mugs on the hooks closest to the wall bracket.
Checklist: what you need, what to skip
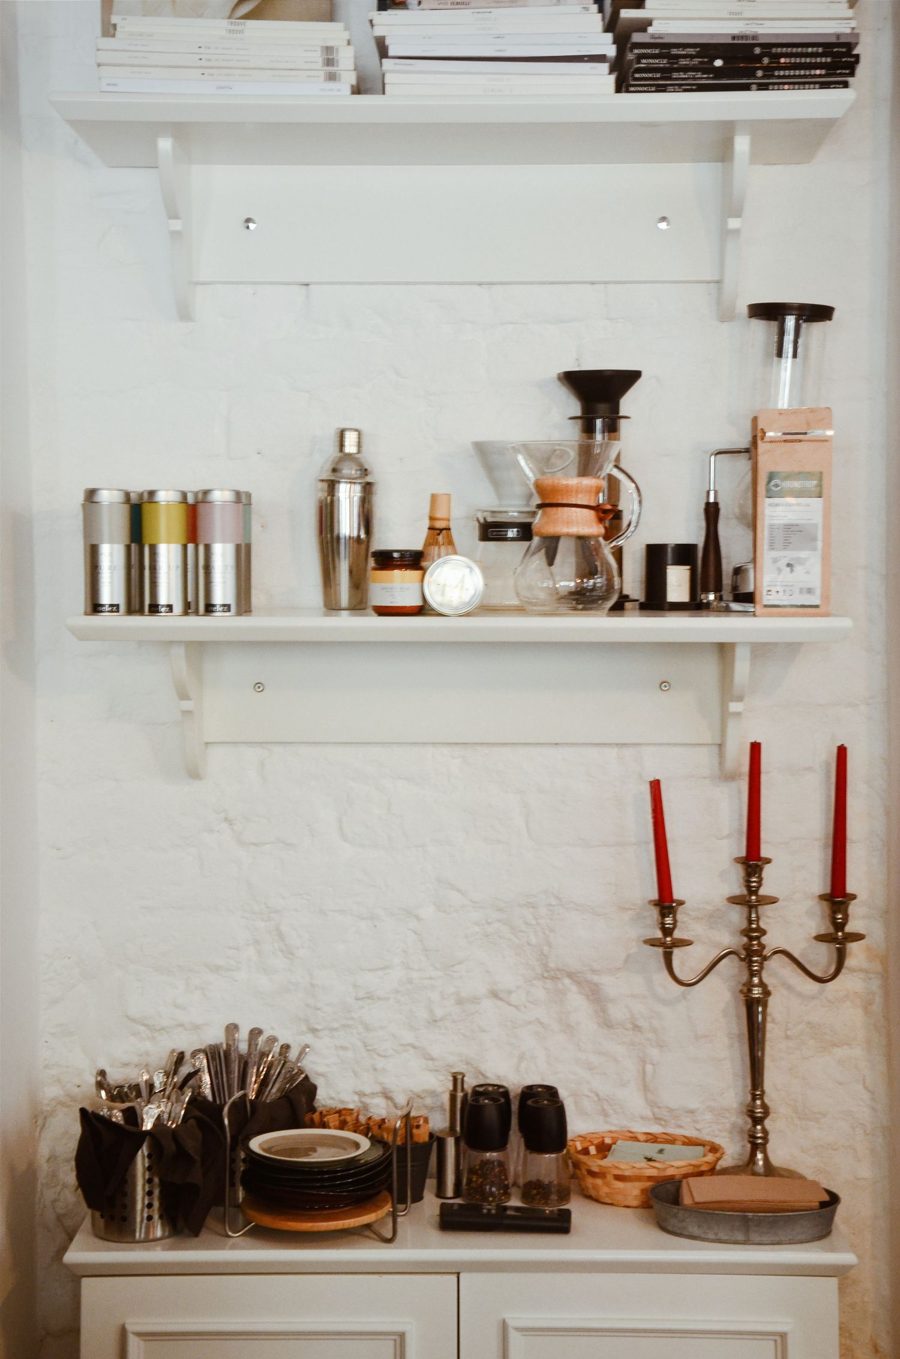
Essentials
- A brewer that fits your measurements
- An airtight canister for the beans or grounds you are using now
- A grinder – only if you buy whole beans
- Your everyday mugs (on hooks or one shelf)
- A scoop or spoon
- One tray to hold it all
Nice to have
- A milk frother, if you drink lattes
- A small scale, if you brew pour-over
- A wall shelf with mug hooks
Three things you can skip
- A bar cart – if you don't have free floor space, it becomes one more thing to walk around.
- A big syrup collection – one or two you actually use is plenty; the rest is bottles on the counter.
- A large pod carousel – a drawer under the machine or a basket in a cabinet holds pods out of sight.
Sizes on this page come from manufacturer and retailer listings and vary by model and color. Always check the listing of the exact model you are buying.